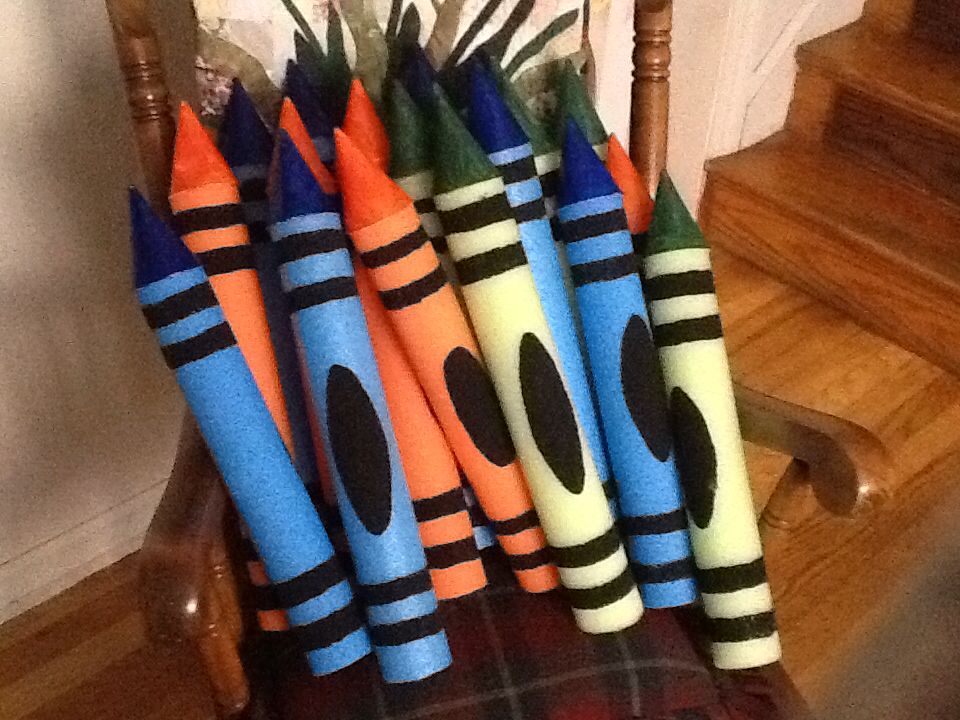
Custom Back to School Photo Props Made with Foam
Whether it’s their first day or their fifth year back to school, capturing these moments is no doubt important to you as a parent. Celebrate these moments with fun photo props made from foam! You can make all sorts of school-themed photo props from foam, such as giant pencils, school buses, and foam photo frames. Here’s how to make a giant prop crayon for back-to-school photos!
Supplies you’ll need:
- Poly round bolsters 4″ in diameter and roughly 36″ in length (one for each crayon you plan to make).
- A papier-mâché cone that fits the top of your Poly round bolsters (one for each crayon you plan to make).
- Fadeless paper roll in color or colors of your choice.
- Spray paint that matches the fadeless paper roll color.
- Adhesive
- Scissors
- Glue gun
- Cricut black vinyl
How to Make:
1. Place the paper-mâché cone on top of the poly-round bolster. You’ll want the paper-mâché cone to sit evenly on the bolster. If needed, trim off the bottom of the cone until it fits. Glue these pieces together to form your crayon. Use adhesive and wait at least 24 hours for the glue to dry.
2. Spray paint the top of the cone and the bottom of the poly bolster. Don’t worry about spray painting the middle, as the paper will cover the bolster.
3. Set aside and let the paint dry according to the paint’s instructions.
4. Once the first coat is dry, give it a second coat and let it dry completely.
5. Measure and cut your fadeless art paper so that it begins and ends a few inches from the top and bottom of the bolster, as the paper wrapping on an actual crayon would. Use your glue gun to apply glue to the paper and wrap it around the bolster, overlapping and adhering to itself along the length of the bolster.
6. Make wavy lines using your Cricut black vinyl. Draw a wavy line about six squares high on the back of the vinyl (there should be a grid on the backing). Cut along the wavy line, creating two pieces. Peel the paper off the back and place the two lines slightly spaced apart along the wavy piece toward the top of the crayon wrapper to mimic the look of a Crayola crayon. Repeat this process for the bottom of the crayon as well.
7. Cut a black oval shape out of the Cricut black vinyl, stick it onto the bottom half of the crayon, and you have a giant back-to-school foam crayon prop perfect for back-to-school photos!
Have fun getting ready for back-to-school season! Craft something extraordinary to last the entire year with one of these creative back-to-school foam craft ideas. If it is school supplies, adding a splash of fun, or giant, adorable props—you’ll find a world of imaginative and easy back-to-school craft ideas that can be made with foam!
If you are wondering about other projects you can do with foam, Contact Us at Foam Factory for more information!
