If you are a hands-on homeowner who likes the DIY approach, taking on the insulation of your home should be a fun project. While it is always good to learn new skills for the upkeep of your home, this project that takes care, patience, and a little knowledge to do correctly. Let’s take a look at what you need to know to make this project a successful one.
Understanding R-Values
Before looking at types of insulation, it is important to start with a strong understanding of the term “R-value.” This is a rating of insulation and how well it resists the transfer of heat. R-value can vary based on the type, thickness, and density of the material. Higher R-values offer better performance than lower R-values. Does this mean you should always go with the highest R-value you can find? Not necessarily. In fact, to help increase energy efficiency, the Department of Energy actually recommends different R-values depending on local climates. Another factor that can affect a materials efficiency is where it is placed in the home. A material placed in the ceiling may react differently than a material placed in the walls.
Types of Insulation
Aside from understanding the right R-value for your regional climate, knowing the different types of insulation is key. It is important to note that insulating any part of the home, whether the ceiling or the walls, will require more than one type of insulation to get the job done. Proper insulation is always done in layers. Here are the most common types of insulation:
Loose Fill
This type of insulation is made of fiberglass or cellulose and is blown into place using air-powered equipment. It is well-suited for harder-to-reach areas.
Batt Insulation
These are pre-cut sections of either fiberglass or wool insulation that can be used in attics, ceilings, and walls. They are designed for easy handling and can be used between framing.
Cross Linked Polyethylene
Chemically cross-linked foam is an extremely closed-cell foam. It is ideal for projects and applications that require thicker foam. This strong and reliable foam works well commercially as thermal insulation, construction expansion joints, and industrial gaskets.
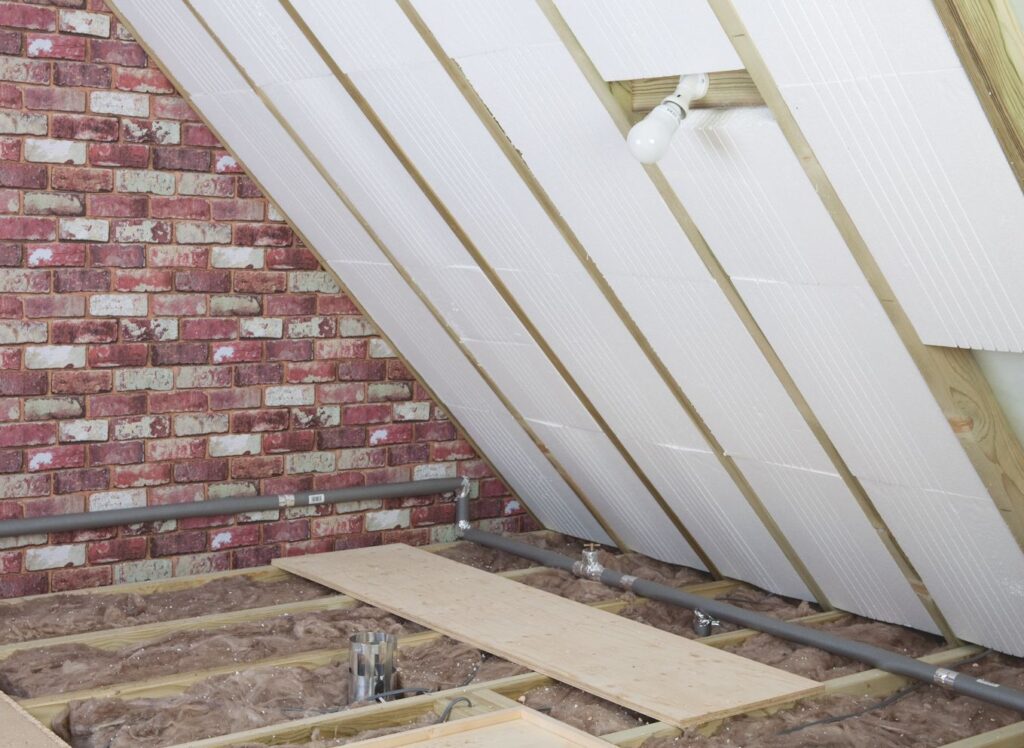
Foam Board Insulation
Polystyrene (EPS) rigid panels are also an excellent insulator due to its high thermal resistance (R-value). They can be used in nearly any insulation area of the home as sheathing solutions to reduce heat conduction through structural aspects such as wood frames or steel studs.
How Much is Needed
To get a starting point on how much insulation you will need for the job, you should start by checking if there is already insulation in place. This will allow you to determine which type of insulation is best to add as an additional layer to the existing insulation solutions already in place. If there is no insulation in the area, you will need to choose several different types to create the required layering effect. Either way, you should measure the area where the insulation will go by both width and depth and use that to guide you on how much to purchase.
Installation Tips
Wear a face mask, gloves, and long pants when working
When working with insulation, there is always the potential for irritation. If you breathe in particles or dust, it may irritate your airway. If the material rubs against your hands or legs, it can also cause skin irritations. You should always be careful when working with any type of insulation to avoid any issues.
Always work with someone else
When insulating a ceiling, you are likely working on a ladder or going up in the attic, depending on your ceiling. Either way, you definitely want to have a work buddy on hand. Not only can they be of assistance in getting the job done, they also act as a safety measure in the event of an accident. You don’t want to fall off a ladder home alone and be unable to move for hours.
Choose the right adhesive for the material
The type of insulation you choose will usually determine the adhesive or method you use to secure it. For instance, some solutions can be stapled or nailed in place while others need the use of adhesive glue, and others such as loose-fill do not need anything at all.
Insulating one area only won’t cut it
If you are looking to improve the insulation in your home, it is important to remember that you have to insulate with the big picture in mind. If you insulate the ceiling, but leave the walls without proper insulation, you are still losing heat in the winter and cooling in the summer. If you want to start with the ceiling first and then work your way to the walls as the next project, do so, but always remember that proper insulation is a whole house need and not just certain areas.
Fill in gaps with spray foam or foam strips
Spray foam comes in handy when trying to reach harder to reach areas. It can be sprayed near gaps in the ceiling to reduce heat conduction. When looking at your whole house approach, foam strips can be used on doors, windows, and other areas where there are small gaps for air to enter or escape. This will help with overall insulation to help make the most of your project.

I want to put a ridgid foam ceiling in my garage. There is presently no insulation. The rafters are 24 inch centers. I need 14 4×8 sheets. Winter temps are low in the 40s, summer temps are in the high 90s.
I need suggestions as to product to use and prices.
Please Contact Us for further information regarding your application.