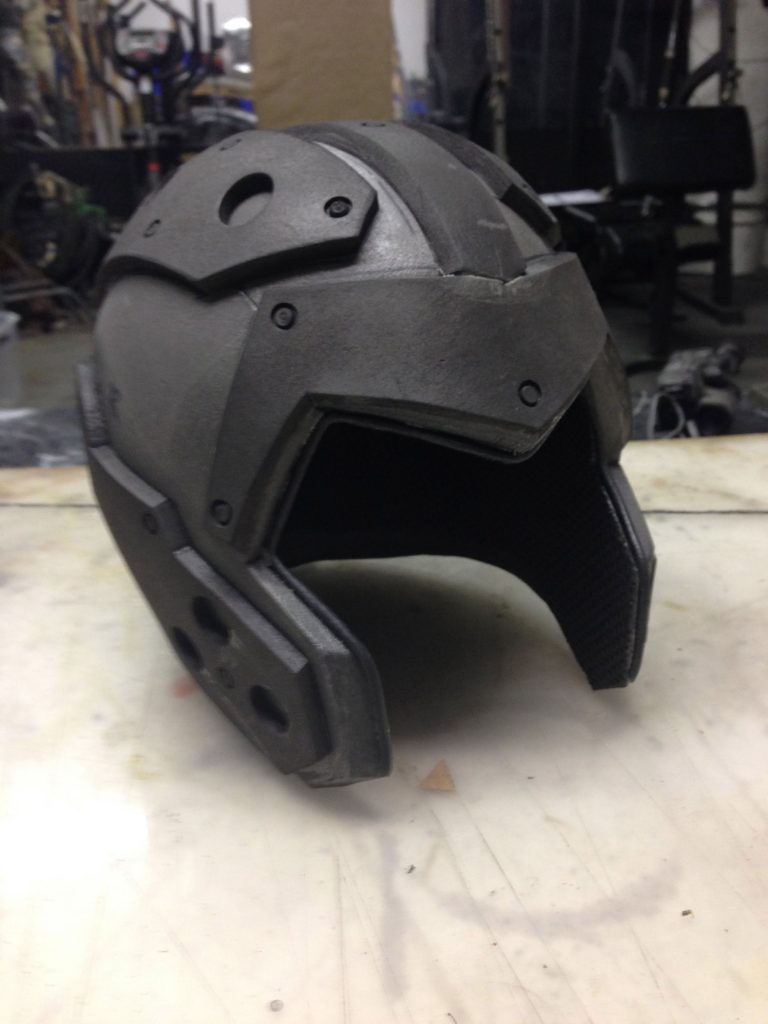
When it comes to cosplaying as a fictional character you love, you need to make sure every element of your costume is perfect. Many cosplay characters wear helmets, so you don’t want to leave this detail out of your look. Everything from Power Rangers to Lord of the Rings contains characters that wear helmets. This means that there are numerous styles of helmets you can create. Let’s take a closer look at how to make a cosplay helmet that will help you bring your favorite character to life.

Materials
- Spray Adhesive
- Ruler
- Utility/Crafting Knife
- Paint (Optional)
- Minicel EVA foam (or any other foam you choose)
- Pattern for your helmet (can be found online)
Step 1
The first step to make a cosplay helmet is to create your pattern. Make sure to take your time with this step and consider the dimensions, details, and measurements that you want the helmet to have. You can either print one out online or make your own with tracing paper, but you will need to create a mock-up of the design before you cut your foam. Many people use aluminum foil to create their mock-up. This is an easy material to test on your head to confirm the dimensions. After making any necessary adjustments to the get the size right, you can create a secondary mock-up, transfer the pattern to card stock paper, and finalize any changes you want to make to the measurements. The key is to add what are called registration marks to the pattern to easily line up the pieces during the gluing step.
Step 2
Once you have finalized your measurements and made marks on your pattern where you would like to connect the pieces, you can transfer the pattern to the foam. Using your tracing paper, you can start transferring the marked outlines from the pattern to the foam using a marker. Make sure you also mark the registration points on the foam to make for easier assembly later on.
Step 3
Next, cut the foam according to the outline you created with the marker and pattern. Use your crafting or utility knife to carefully cut the marked outline. Having something sturdy, such as a cutting board, underneath the foam is important to avoid cutting through the surface of the table or other work surfaces. A good tip is to keep the blade at a 90-degree angle to make sure the pieces match correctly without creasing.
Step 4
Next up is to paint the pieces to give an authentic look to your character. When you are working with paint of any kind, it is always helpful to work in a well ventilated area. Make sure you lay the pieces on cardboard or another surface that you are okay having paint on. Once you have finished painting your pieces, you need to let them dry completely before moving to the next step.
Step 5
Step 5 is to glue the pieces together. Depending on the foam you are using, you may want to heat it up with a heat gun if you have one on hand. This can make the foam much easier to work with if you are using a foam adhesive spray. Make sure you carefully line up your registration marks when gluing the pieces to ensure the right end result. From there, you want to let the glue dry.
Step 6
The final step is to test the fit of the helmet and make necessary adjustments before any finishing touches. If you find the helmet is too big, you can glue additional pieces inside the helmet to make it fit more snugly. You can also adjust a tight fit by sanding down some foam from inside the helmet, but be careful not to make it so thin that the foam becomes flimsy. You can also sand down any areas where the foam is rough or the edges of the pieces do not line up properly. This is also an ideal time to add any carvings or embellishments to complete the look of the helmet for your character. Once the details are finished, you will have a helmet ready to complete your outfit.
Go out and have a blast cosplaying as your favorite character!

